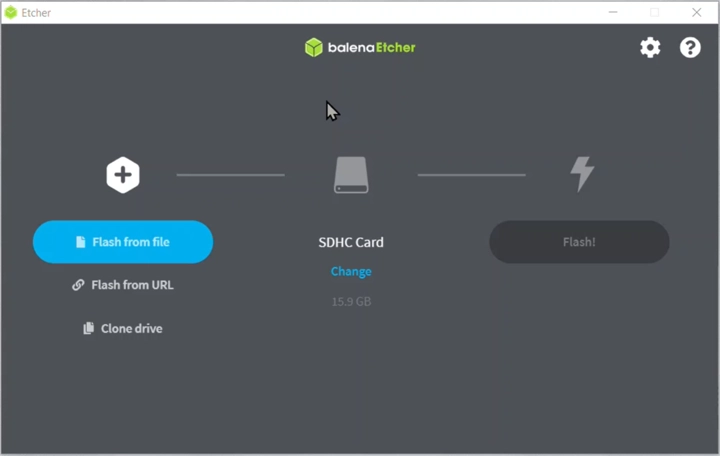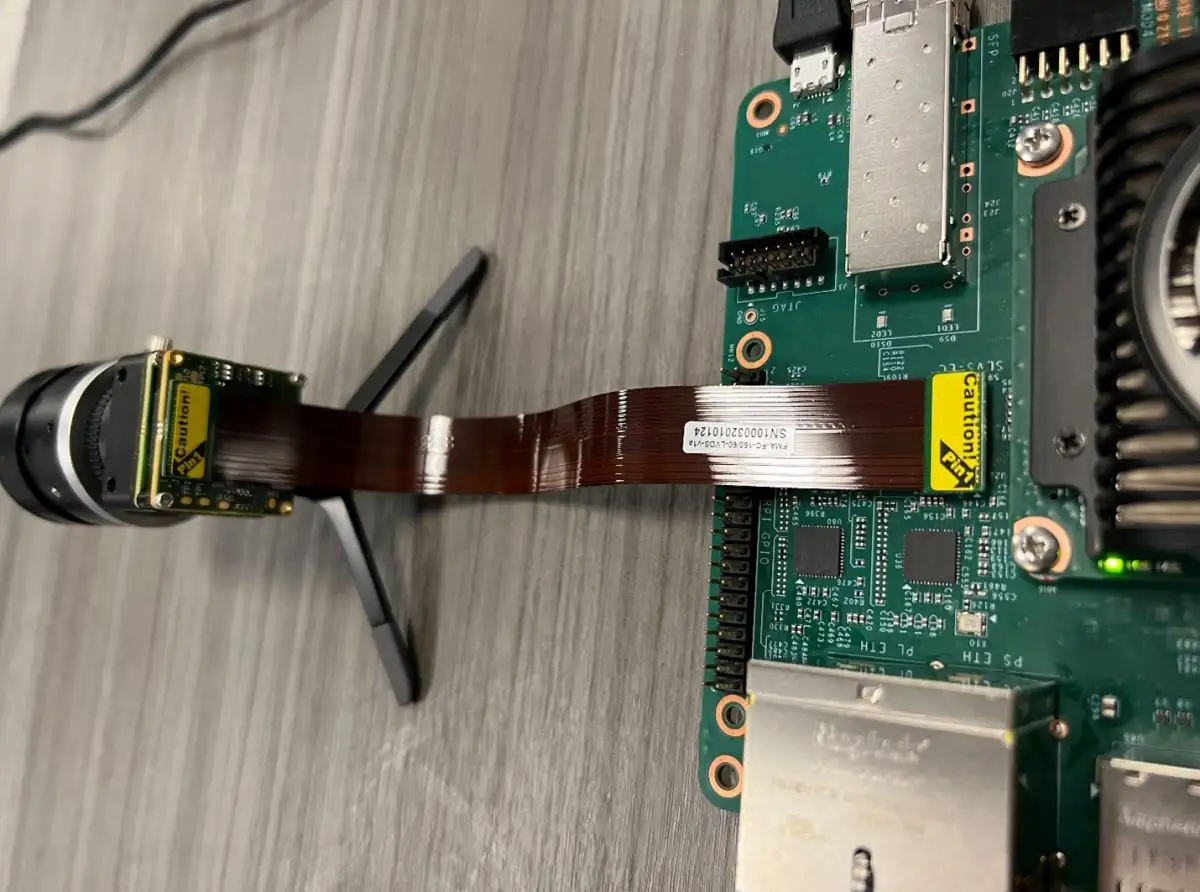
# install the basic configuration for KRIA App storesudo snap install xlnx-config --classic --channel=2.xsudo xlnx-config.sysinitsudo add-apt-repository ppa:xilinx-appssudo add-apt-repository ppa:ubuntu-xilinx/sdksudo apt updatesudo apt upgrade# install dockersudo groupadd dockersudo usermod -a -G docker $USERsudo apt install docker# install the docker app imagesudo apt install xrt-dkmssudo xmutil getpkgssudo apt install xlnx-firmware-kr260-mv-camerasudo docker pull xilinx/mv-defect-detect:2022.1 # install Gstreamer packagessudo apt-get install gstreamer1.0*sudo apt install ubuntu-restricted-extrassudo apt install libgstreamer1.0-dev libgstreamer-plugins-base1.0-dev# if you want to just download the compiled files of OpenCV for Pythonmkdir -p opencv/opencv-python-mastercd opencv/opencv-python-masterwget https://s3.eu-west-1.wasabisys.com/xilinx/kr260/numpy-1.26.2-cp310-cp310-manylinux_2_17_aarch64.manylinux2014_aarch64.whlwget https://s3.eu-west-1.wasabisys.com/xilinx/kr260/opencv_python_headless-4.6.0%2B4638ce5-cp310-cp310-linux_aarch64.whl# If you want to compile OpenCV on the KR260OPENCV_VER="master"TMPDIR=opencvmkdir $TMPDIR# Build and install OpenCV from source.cd "${TMPDIR}"git clone --branch ${OPENCV_VER} --depth 1 --recurse-submodules --shallow-submodules https://github.com/opencv/opencv-python.git opencv-python-${OPENCV_VER}cd opencv-python-${OPENCV_VER}export ENABLE_CONTRIB=0export ENABLE_HEADLESS=1# we want GStreamer support enabled.export CMAKE_ARGS="-DWITH_GSTREAMER=ON"# generate the wheel packagepython3 -m pip wheel . --verbose media-ctl -d /dev/media0 -V "\"imx547 7-001a\":0 [fmt:SRGGB10_1X10/1920x1080 field:none @1/60]"modetest -D fd4a0000.display -s 43@41:1920x1080-60@BG24 -w 40:"alpha":0modetest -D fd4a0000.display -s 43@41:1920x1080-60@BG24 -w 40:"g_alpha_en":0cd opencv/opencv-python-masterpython3 -m pip install opencv_python*.whl  Great! You're set to begin!
 sudo xmutil desktop_disable sudo xmutil unloadapp sudo xmutil loadapp kr260-mv-camera sudo docker run \--env="DISPLAY" \--env="XDG_SESSION_TYPE" \--net=host \--privileged \--volume /tmp:/tmp \--volume="$HOME/.Xauthority:/root/.Xauthority:rw" \-v /dev:/dev \-v /sys:/sys \-v /etc/vart.conf:/etc/vart.conf \-v /lib/firmware/xilinx:/lib/firmware/xilinx \-v /run:/run \-v /home/ubuntu:/home \-h "xlnx-docker" \-it xilinx/mv-defect-detect:2022.1 \bash -c "cd /home; chmod 777 ./setup_docker.sh; ./setup_docker.sh; bash"  just press "Enter" and the terminal will continue.
 gst-launch-1.0 v4l2src device=/dev/video0 io-mode=5 ! video/x-raw, width=1920, height=1080, format=GRAY8, framerate=60/1 ! perf ! kmssink bus-id=fd4a0000.display -vgst-launch-1.0 v4l2src device=/dev/video0 ! video/x-raw, width=1920, height=1080, format=GRAY8, framerate=60/1 ! queue ! videoconvert ! jpegenc ! filesink location=output.jpegv4l2src: Retrieves video frames from the defined V4L2 device (/dev/video0).video/x-raw: Defines the video as a raw format, meaning no compression or alterations are applied.width=1920, height=1080, format=GRAY8, framerate=60/1: Configures the video's width and height to 1920x1080 pixels, sets the format to GRAY8 (grayscale), and establishes a frame rate of 60 frames per second.queue: Implements a frame buffer in a queue to facilitate smooth video processing.videoconvert: Transforms the video format as necessary for compatibility with subsequent elements in the pipeline.jpegenc: Translates the video frames into JPEG format.filesink location=output.jpeg: Outputs and saves the processed JPEG frames to a file named "output.jpeg." cv::VideoCapture videoReceiver("v4l2src device=/dev/video0 ! video/x-raw, width=1920, height=1080, format=GRAY8, framerate=60/1 ! appsink", cv::CAP_GSTREAMER);v4l2src device=/dev/video0 ! video/x-raw, width=1920, height=1080, format=GRAY8, framerate=60/1 ! appsink": This is a GStreamer pipeline specified as a string. It describes the series of actions to capture video from a V4L2 device (`/dev/video0`), set its properties (width, height, format, and framerate), process it through various GStreamer elements (queue, videoconvert), and finally, output it through an appsink.cv::CAP_GSTREAMER: Specifies the backend to be used for capturing video, in this case, GStreamer.pipeline = "v4l2src device=/dev/video0 ! video/x-raw, width=1920, height=1080, format=GRAY8, framerate=60/1 ! appsink" cap = cv2.VideoCapture(pipeline, cv2.CAP_GSTREAMER)import cv2input_pipeline = "v4l2src device=/dev/video0 ! video/x-raw, width=1920, height=1080, format=GRAY8, framerate=60/1 ! appsink"cap = cv2.VideoCapture(input_pipeline, cv2.CAP_GSTREAMER)output_pipeline = "appsrc ! kmssink bus-id=fd4a0000.display"out = cv2.VideoWriter(output_pipeline, 0, 60, (1920, 1080), isColor=False)i = 1000while i > 0:ret, frame = cap.read()out.write(frame)i -= 1cap.release()out.release()import cv2import timeinput_pipeline = "v4l2src device=/dev/video0 ! video/x-raw, width=1920, height=1080, format=GRAY8, framerate=60/1 ! queue ! appsink"cap = cv2.VideoCapture(input_pipeline, cv2.CAP_GSTREAMER)output_pipeline = "appsrc ! queue ! kmssink bus-id=fd4a0000.display"out = cv2.VideoWriter(output_pipeline, 0, 60, (1920, 1080), isColor=False)i = 1000frame_in = []while i > 0:ret, frame = cap.read()frame_in.append(frame)i -= 1i = 1000while i > 0:out.write(frame_in.pop())i -= 1cap.release()out.release()
Contact us for more System integrations solutions that help to grow your business
